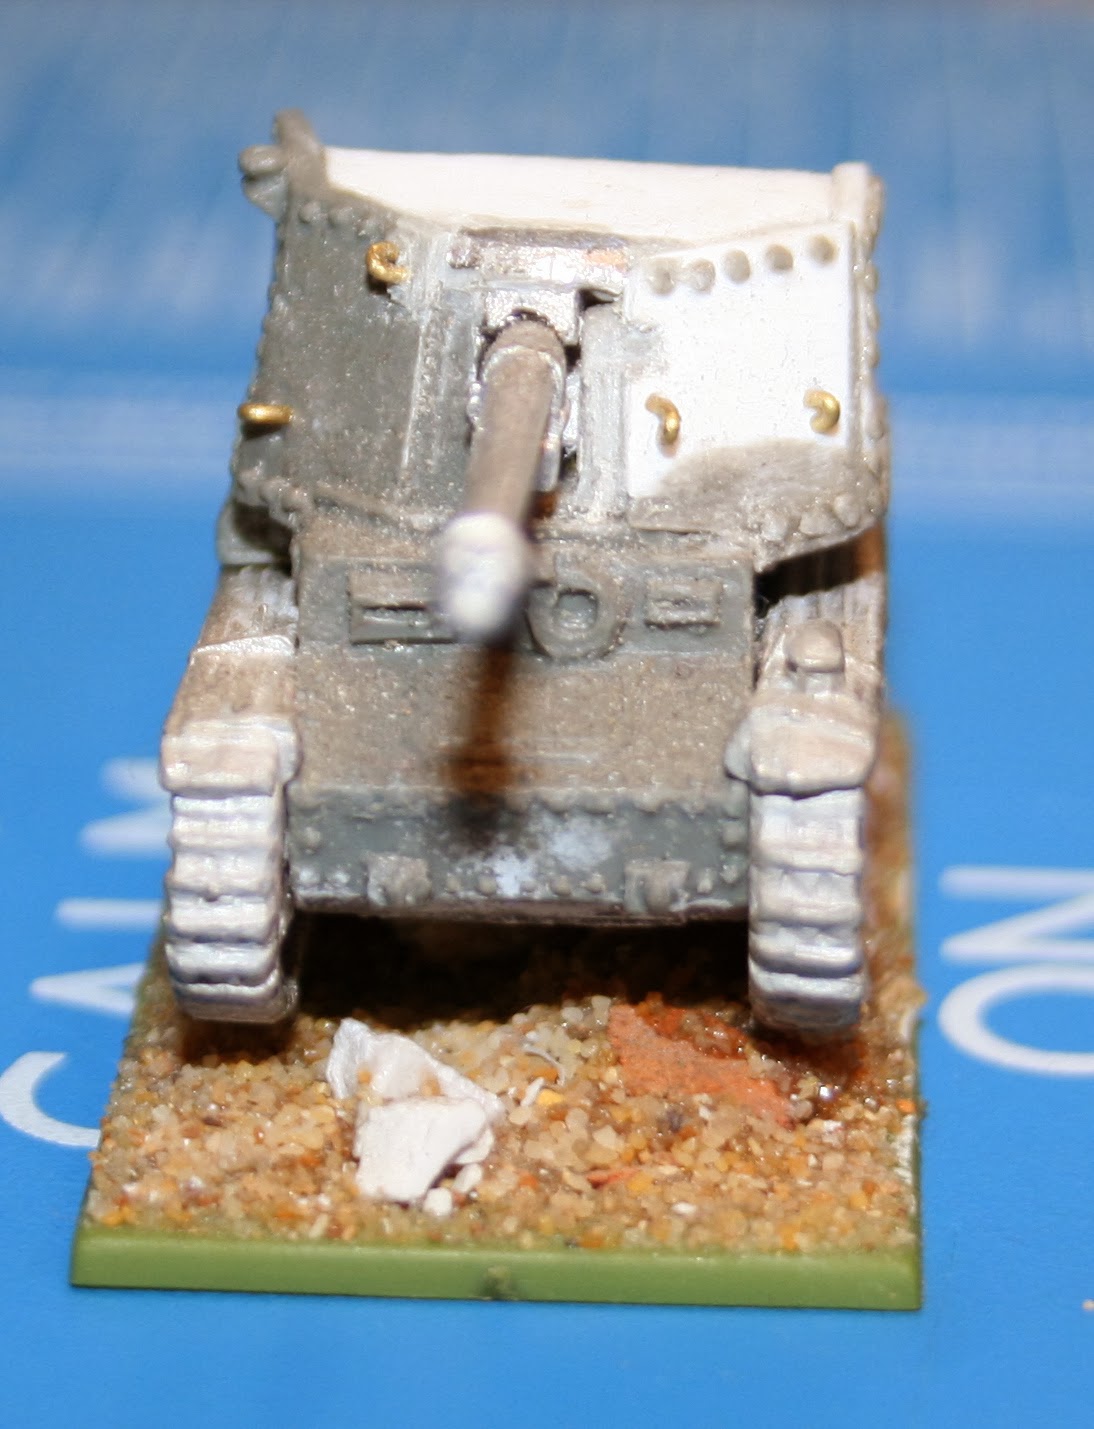
In my last post my poor battered marder was shown naked and sadly she was not a pretty sight. Hours and hours (in reality one and a bit whilst watching TV) went into rebuilding her and finding a suitable crew as the battlefront ones provided were flimsy and miscast.
 |
| Doesn't look too bad from this angle.... |
 |
| The damage was extensive (and sloppily repaired).... |
In a brief gap in the near constant and torrential rain in my locale allowed me to try out my as yet untested Plastic Soldier Company Warspray Dunkelgelb. The coat was light and dealt well with the increased moisture (from living in the south wales temperate rainforest) with out any frosting or blobbing (tech. def.). The colour was however darker than I expected. This was the first warning sign that I may get frustrated with real world paint schemes.
As I have an airbrush but neither the space or experience/inclination to try using it for such a small job I'd previously decided to try doing the soft edge camo over the dunkelgelb using a paintbrush. This wasn't too bad and using thinned paints it was possible to slightly feather the reflective green camo. I then came to highlight the exposed dunkelgelb using my newly acquired German Armour Paint set from Battlefront. Plucked out middlestone and set to work.
I should point out that I'm a fireside modeler. I often find the only time I have for my hobby is to sit in front of my fire and TV with my wife in the evening and paint and model sociably. This is fine but can be distracting but most importantly I need to take my Daylight bulb'd lamp along with me. To see the difference that available light makes to your painting; try painting a mini in poor electric light and then take it out into bright sunlight. The variation from what you saw and think you painted and reality can be immense.
To me the middlestone paint was too bright to apply a one step highlight to the dunkelgelb basecoat. I tried a couple of times and didn't like the results so I randomly located tausept ochre, bestial brown and a very old bottle of orc flesh out of my paint supply and repainted the stripes. This was better but I'm still not sure. I know that dunkelgelb was predominantly applied in the field and as such was variable in final colour: due to how it was thinned (usually with fuel), applied and any weathering afterwards. I found that the level of complexity (and apprehension) created when simply trying to represent a real world object (in a rapidly changing environment) can be daunting. I'd stared at lots of black and white photos but they only really help from a pattern and tonal perspective. It's worth looking at the Painting Dunkelgelb article on Battlefronts site. It allayed some worries about variance.
So below is some pictures of my (nearly) finished marder. It needs a couple of small shells painted and attached, a few fine details added and then maybe another coat of dulcoat.
 |
| The added tree branch camouflage and crew wearing zeltbahn seemed necessary for me as the "gun shield'" was very thin and not even good protection from small arms accordingly. |
 |
| A unnerving combination of cramped and exposed, the only benefit I can see is that it would be easy to leave... |
 |
| I'm really pleased with the first use of my micro sol and set on the Balkenkreutz. There is no tell tale decal shine now. |
 |
| Silver birch was very 'in' in the flamboyant '44 tank camouflage fashionista circles. (Not a real fact). |
So that's my first finished(ish) model for my Germans. I know it's weak in game and horribly disfigured (and maybe even the wrong colour) yet I still strangely like it. I've got lots left to do and hopefully when there is a break in the drizzle (or snow later accordingly) I'll try and base-coat up some infantry and get going.
If you've managed to read that and can give any advice please comment below.
Thanks
BALM
I think it looks great, I really like the bushes etc, good job.
ReplyDeleteSteve
Thanks Steve, I'm finding the supportive nature of the internet modelling community really inspiring and helpful.
Delete